
>>

Savory-sweet Mongolian beef cooked in 30 minutes and served over steaming rice—crispy edges, glossy sauce, and scallion brightness make this an instant favorite.
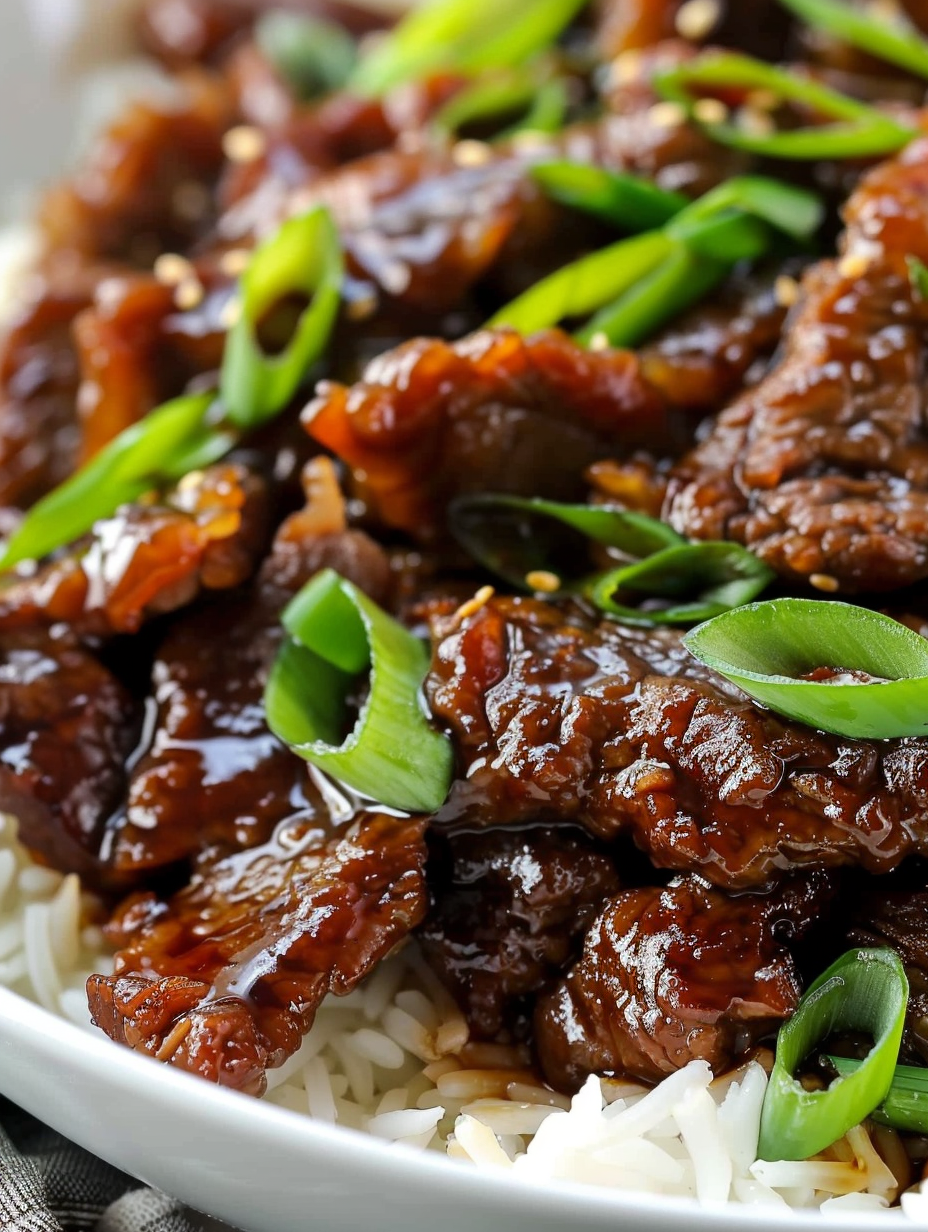
This 30-Minute Mongolian Beef has been a weeknight lifesaver in my kitchen for years. I first cracked the method on a hectic Tuesday when I wanted something restaurant-worthy without the drive-through wait. The trick is thin slices of sirloin dusted in cornstarch, briefly pan-fried until they develop little crisped edges, and then finished in a glossy, caramel-like sauce made from brown sugar and tamari. The result is bold: salty, sweet, slightly spicy if you like, with tender beef and a sticky sauce that clings to each bite. It’s the kind of dish that makes everyone at the table scoop up extra rice to sop up every last drop.
I remember serving this the first time to friends who'd just moved into town—between the aromatic ginger and the quick sizzle in the pan, the apartment smelled like a bustling kitchen. They asked for the recipe before dessert. That immediate approval is why I keep this version in heavy rotation: it’s fast, forgiving, and hits that satisfying balance of texture and flavor. When you want a dinner that delivers big on taste but wins on time, this bowl is exactly what I reach for.
In my kitchen this version became standard because it’s quick, forgiving, and reliably delicious. Family members who rarely request seconds find themselves scraping the skillet for more sauce. Over time I’ve learned the small details—how thin to slice the steak, how long to let the sauce reduce—and those tiny changes turned an okay dish into one that earns applause every time.
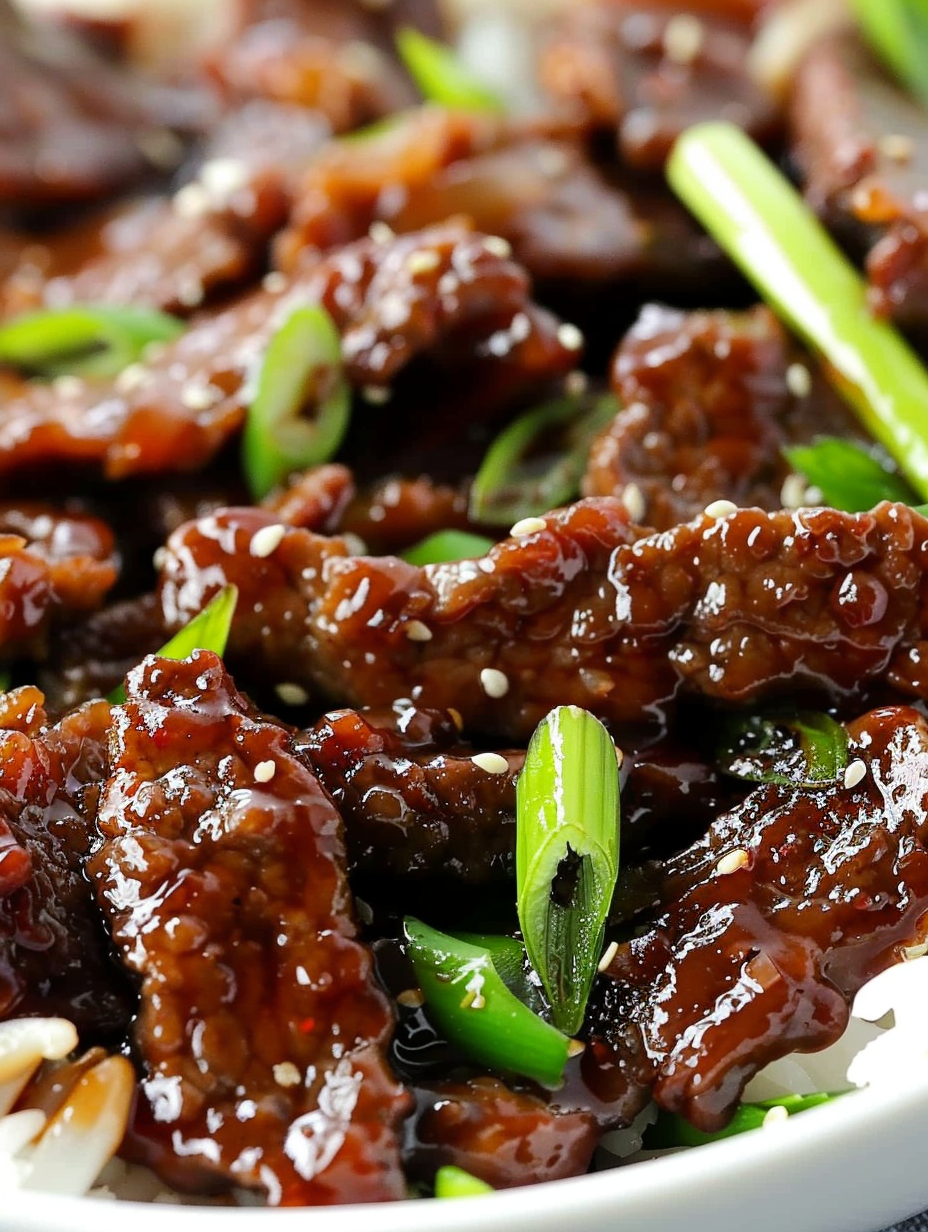
What I love most about this preparation is how reliably restaurant-style textures appear with minimal fuss. The family notices the caramelized edges and asks how I achieved them every time. Over the years I’ve dialed in the timing so even the busiest cook can confidently reproduce the result; little choices like warming the plates or resting the beef briefly under foil before tossing in the sauce make a small but noticeable difference.
Store leftovers in separate airtight containers—rice in one, beef and sauce in another—to preserve texture. Refrigerate within two hours and consume within four days. Reheat gently over medium-low heat, adding a splash of water to loosen the sauce and avoid drying the beef. For microwaving, cover loosely and stir halfway through reheating to ensure even heat. If freezing, transfer sauce to a freezer-safe container; thaw overnight in the fridge and warm before tossing with freshly seared beef for optimal texture.
If you’re out of sirloin, flank steak or skirt steak are workable substitutes if sliced thin against the grain; they’ll be slightly chewier but still flavorful. For a gluten-free preparation, use reduced-sodium tamari instead of soy sauce. Swap brown sugar for coconut sugar or maple syrup (use slightly less liquid if using syrup) to vary the sweetness. Replace canola oil with avocado oil for higher smoke point and a neutral taste. For lower sodium, dilute tamari with extra water and add a pinch more sugar to maintain balance.
Serve this over fluffy steamed jasmine or short-grain rice to catch the glossy sauce; for a lighter option try rice noodles or bibb lettuce leaves for handheld wraps. Garnish with thinly sliced fresh scallions and a sprinkle of toasted sesame seeds for texture and aroma. Pair with simple sides like steamed broccoli, quick pickled cucumbers, or a crisp Asian slaw to cut through the richness. For a date-night presentation, serve in shallow bowls with a lime wedge to brighten each bite.
Mongolian-style beef is actually a Chinese-American invention rather than a traditional Mongolian dish. It evolved to highlight quick-cooked beef in a savory-sweet glaze, influenced by Chinese stir-frying techniques and American palates favoring caramelized sauces. Regional variations abound in restaurants—some versions use hoisin, sesame oil, or additional aromatics—but the core idea remains the same: thinly sliced beef, quick high-heat cooking, and a sticky, flavorful sauce.
In spring and summer, lighten the bowl by serving over cold rice noodles with raw cucumber ribbons and a splash of lime. In fall and winter, fold in roasted root vegetables or braised bok choy to make the meal heartier. For holiday gatherings, double the batch and keep the sauce warm in a small slow cooker while friends assemble bowls—this lets you entertain without constant stove tending.
Slice the steak and coat it with cornstarch the night before, storing the bagged, coated meat in the fridge. Make the sauce ahead and refrigerate in a jar; when ready, crisp the beef quickly in a hot pan and add warmed sauce to finish. Use portioned meal containers with rice and a side of steamed vegetables; add scallions just before eating to preserve their fresh crunch. This method keeps weekday lunches vibrant and fast.
Bring this dish to your table when you want a fast, impressive, and deeply comforting meal. With a few pantry staples and 30 focused minutes, you’ll have a bowl that feeds both body and soul—share it, tweak it, and make it your own.
Pat the steak slices dry before coating with cornstarch to achieve a crisper sear.
Work in batches when frying so the pan stays hot and the beef browns instead of steams.
Add scallions off the heat to preserve their bright color and crisp texture.
If the sauce thickens too much, stir in a tablespoon of water at a time until desired consistency is reached.
Use fresh grated ginger and freshly minced garlic for the most aromatic result.
This nourishing 30-minute mongolian beef bowl recipe is sure to be a staple in your kitchen. Enjoy every moist, high protein slice — it is perfect for breakfast or as a wholesome snack any time.
Yes. Use reduced-sodium tamari instead of soy sauce and ensure other ingredients are gluten-free labeled.
Sear in batches so the pan remains hot and the meat develops a light crust rather than steaming.
This 30-Minute Mongolian Beef Bowl recipe makes perfectly juicy, tender, and flavorful steak every time! Serve with potatoes and a side salad for an unforgettable dinner in under 30 minutes.
Trim fat and slice the sirloin into 1/4-inch slices against the grain. Cover with plastic wrap and gently pound with a meat mallet to even thickness for quick, tender cooking.
Place slices in a resealable bag with cornstarch. Seal and massage until each piece is evenly coated; shake off excess before frying.
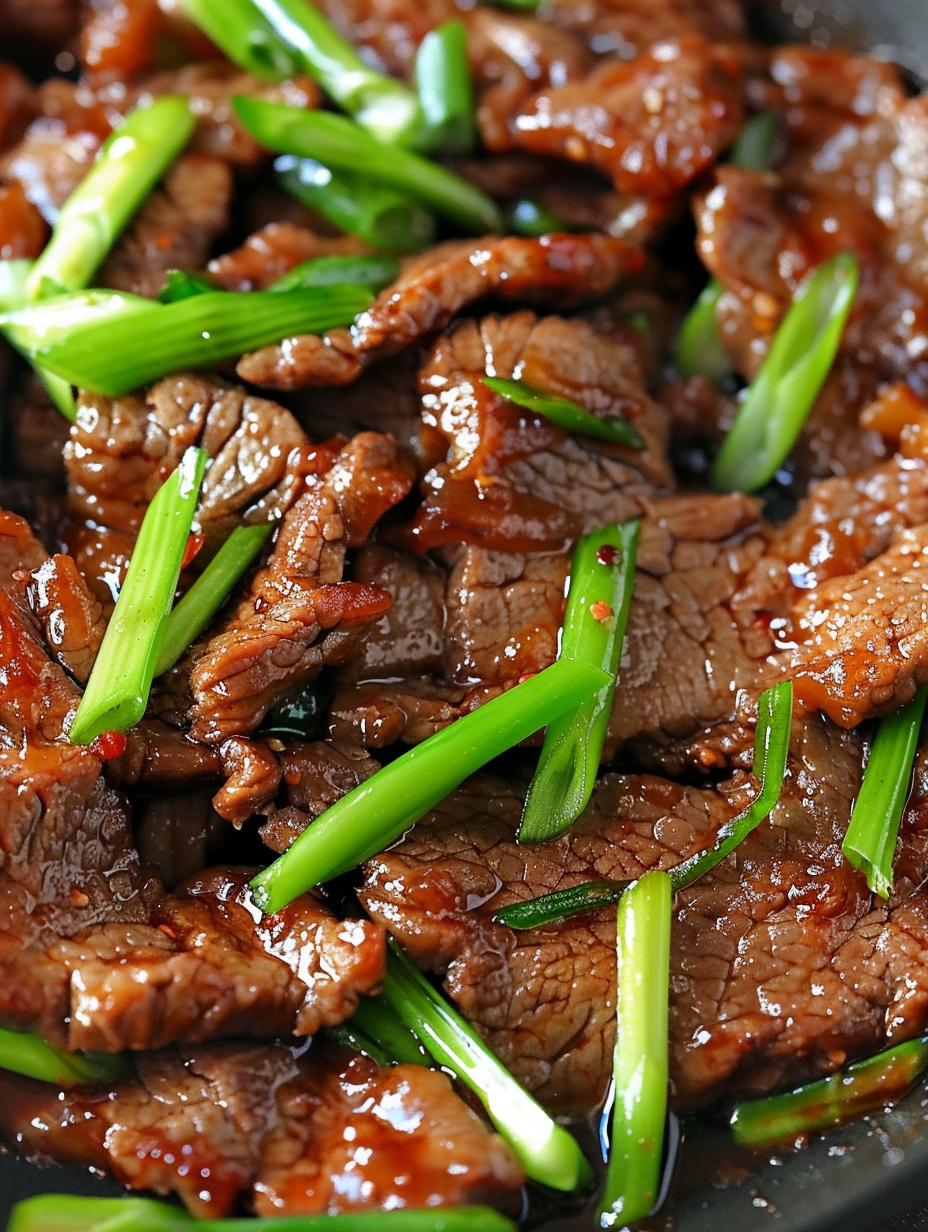
Heat canola oil in a large frying pan over medium-high. Add beef in a single layer and sear 30 seconds per side. Work in batches, remove to a plate, and lightly season with salt.
Sauté grated ginger, minced garlic, and red pepper flakes for 10–15 seconds. Add tamari (or soy), water, and brown sugar. Bring to a boil to dissolve sugar and develop flavor.
Return beef to the pan, let sauce thicken 20–30 seconds, then turn off heat and stir in scallions. Serve immediately over rice, noodles, or in lettuce wraps.
Last Step: Please leave a rating and comment letting us know how you liked this recipe! This helps our business to thrive and continue providing free, high-quality recipes for you.
Leave a comment & rating below or tag
@yummique on social media!

Tender grilled zucchini wraps basil ricotta, bathed in marinara and mozzarella, baking into a bubbly, lighter Italian comfort dinner ready in 30 minutes.

Crisp-edged, tender-in-the-middle zucchini and yellow squash made in 15 minutes with pantry spices. A vibrant, veggie-forward side everyone devours.

Tender chicken meatballs simmered in rich marinara and blanketed with melty mozzarella, bringing all the flavors of chicken parm in cozy, bite-sized form.
Leave a comment & rating below or tag @yummique on social media!
Enjoyed this recipe? Share it with friends and family, and don't forget to leave a review!
This recipe looks amazing! Can't wait to try it.
Comments are stored locally in your browser. Server comments are displayed alongside your local comments.

Join to receive our email series which contains a round-up of some of our quick and easy family favorite recipes.
