
>>

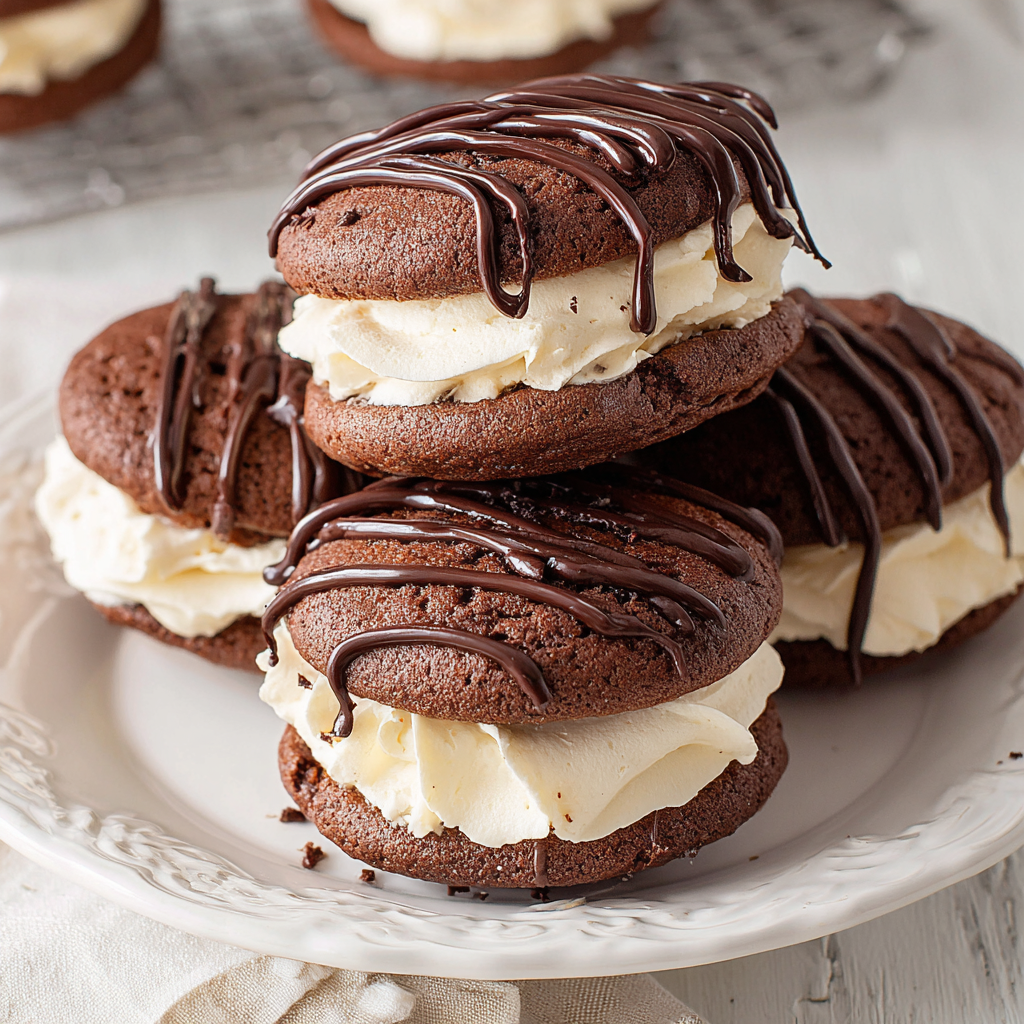
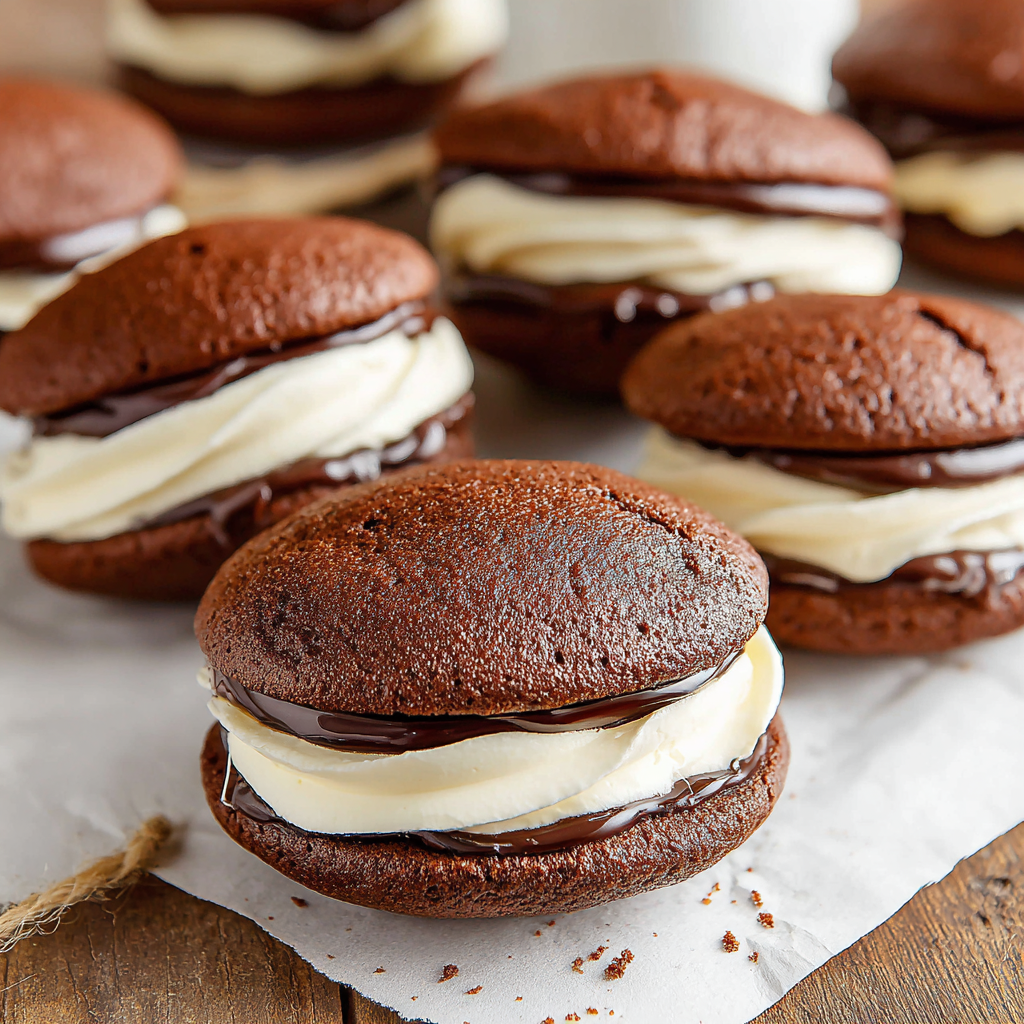
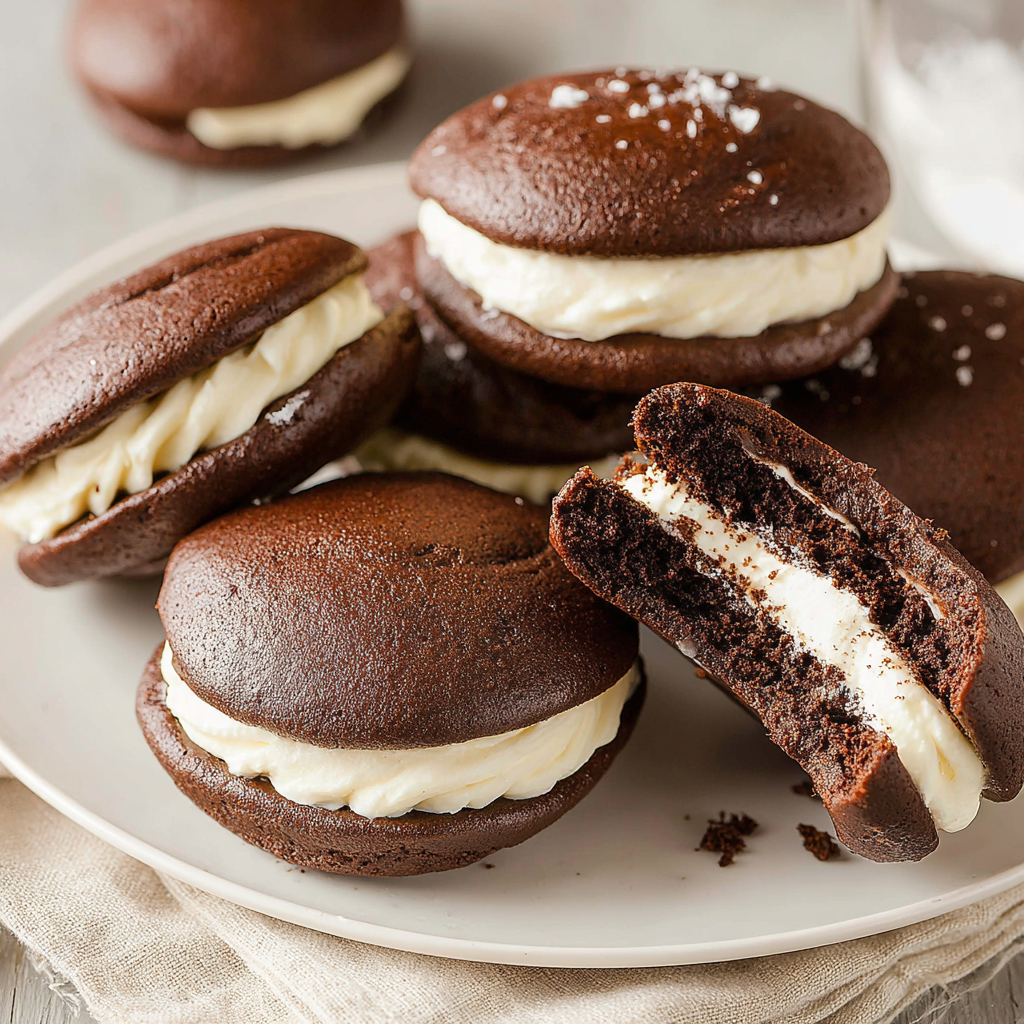
Bake up nostalgic, tender chocolate cakes sandwiched with a pillowy marshmallow-vanilla filling. These classic whoopie pies are perfect for gatherings, gifts, and sweet tooth cravings.
This recipe for whoopie pies is a family favorite that brings back warm memories of holiday bake sales and sleepy afternoons in the kitchen. I discovered this combination while testing different chocolate cake textures and fillings one autumn; the first time I sandwiched two of those soft, cakey rounds together with a marshmallow-vanilla filling, my kids insisted it become our staple dessert. The texture is the magic here: a tender, cake-like exterior that gives way to a creamy, slightly marshmallow-y center. It is a nostalgic taste with a grown-up depth from malted milk powder and optional espresso, and the balance of sweet and slightly salty in the filling keeps each bite from feeling cloying.
I make these for birthday parties, school treats, and cozy weekend baking when we want something a little special without a towering cake. They travel well when packed in a single layer in a sturdy tin, and they are perfect for dipping in chocolate or decorating with sprinkles when the occasion calls for some flair. One bite takes me back to a childhood bakery window, and now our family requests them for every small celebration. The recipe yields about eighteen sandwiches and is surprisingly do-able even on a busy afternoon with a little planning.
When I first served these at a family reunion, they vanished within an hour. Neighbors asked for the recipe and my sister insisted I triple the batch next time. The combination of a deep chocolate cake and a marshmallow-forward filling is a crowd-stopping pairing that keeps everyone coming back for seconds.
My favorite part is watching strangers at bake sales pause when they see the glossy chocolate halves and then light up after the first bite. My aunt once told me these brought back memories of her school cafeteria, and that kind of nostalgic connection is exactly why I keep this recipe in rotation. The combination of a bakery-style cake and pillowy filling is both simple and striking.
Store assembled sandwiches in an airtight container in the refrigerator for up to 5 days. For longer storage, freeze in a single layer on a sheet pan until firm, then stack with parchment between layers and transfer to freezer bags for up to 3 months. When reheating or serving from frozen, thaw in the refrigerator overnight and bring to room temperature 30 to 60 minutes before serving. If dipped in chocolate, keep refrigerated to prevent melting; for gifting, pack in a rigid container with cushioning to avoid crushing the delicate cakes.
If you do not have cake flour, measure all-purpose flour and remove 2 tablespoons per cup, then sift before using. Replace black cocoa with an equal amount of Dutch-process cocoa if unavailable. For a dairy-free version, substitute non-dairy butter and coconut-based shortening and use non-dairy cream alternatives, but expect slightly different mouthfeel. To reduce sweetness, cut powdered sugar in the filling by 1/2 cup and increase salt to balance. For a lighter filling, use all butter and no shortening, but refrigerate assembled pies sooner to maintain shape.
Serve these with a glass of cold milk, a scoop of vanilla ice cream, or alongside fresh berries to cut sweetness. For a party platter, arrange half-dipped pies with colorful sprinkles and plain sandwiches for variety. They make charming gifts when wrapped individually in parchment and tied with twine. For tea service, offer mini whoopie pies that pair well with Earl Grey or a bright, citrusy tea.
Whoopie pies are an American classic with roots in New England and Pennsylvania Dutch traditions. Often claimed by both Maine and Pennsylvania as native to their regions, they were traditionally baked by home cooks and presented at church socials and community gatherings. The nostalgic confection has many regional variations and has evolved from simple cake sandwiches to elaborate filled treats with modern flavor twists.
In colder months, add warming spices like cinnamon or a pinch of nutmeg to the cake batter. For holidays, dye the filling or use themed sprinkles. In summer, make mini versions for easy handheld treats or pair with seasonal fruit like raspberries for a bright counterpoint to the chocolate. For autumn, increase malted milk powder and consider a drizzle of salted caramel instead of chocolate for garnish.
Prepare the cakes a day ahead and store in a single layer at room temperature covered with a clean kitchen towel. Make the filling and keep refrigerated in a piping bag. On the day of serving, fill and assemble quickly, then dip or decorate. This staggered approach reduces last-minute stress and keeps textures optimal. Use labeled freezer-safe containers if refrigerating multiple batches to maintain freshness.
These sandwiches are a joyful mix of nostalgia and technique. Whether you bake a single batch for a family treat or multiple trays for a bake sale, they reward care with unforgettable flavor and texture. Give them a try and make the recipe your own with different fillings and finishes.
Chill the filling briefly if it becomes too soft while assembling to make piping or scooping easier.
Use a cookie scoop for uniform cakes; consistent size ensures even baking and perfect sandwich pairing.
If you do not have black cocoa, substitute with an equal amount of Dutch-process cocoa for similar flavor.
This nourishing best whoopie pie recipe recipe is sure to be a staple in your kitchen. Enjoy every moist, high protein slice — it is perfect for breakfast or as a wholesome snack any time.
This Best Whoopie Pie Recipe recipe makes perfectly juicy, tender, and flavorful steak every time! Serve with potatoes and a side salad for an unforgettable dinner in under 30 minutes.
In a stand mixer bowl, cream 1 cup packed light brown sugar and 1/2 cup salted butter on medium-high for 4 minutes. Add vanilla bean paste, coffee extract, and salt while creaming. Scrape the bowl halfway through to ensure even mixing.
Add 1 large room-temperature egg and beat for 1 minute until fully incorporated. Scrape down the sides and bottom to prevent unmixed pockets.
Whisk together 2 1/4 cups cake flour, 1/2 cup Dutch-process cocoa, 2 tablespoons malted milk powder, 2 teaspoons black cocoa, 1 teaspoon baking powder, 1/2 teaspoon baking soda, and 1/2 teaspoon espresso powder in a separate bowl.
Add the dry ingredients to the mixer in three parts, alternating with 1 cup buttermilk, beginning and ending with the dry. Mix on medium speed until combined and then for an additional 30 seconds; do not overmix.
Fold the batter with a rubber spatula and let it rest for 15 minutes to relax the gluten and improve crumb tenderness.
Preheat oven to 350°F. Line baking pans with parchment. Use a #40 scoop to portion scoops at least 3 inches apart. Bake 9 to 11 minutes until tops spring back. Cool on the pan 5 to 10 minutes, then transfer to a wire rack to cool completely.
Cream 1 cup unsalted butter and 1/2 cup butter-flavored shortening with vanilla and salt for 2 minutes. Gradually add 4 cups powdered sugar and 1/4 cup heavy cream, then fold in 1 1/4 cups marshmallow fluff. Adjust salt or powdered sugar for taste and consistency.
Scoop filling onto the bottom of half the cakes and sandwich with remaining cakes. If desired, melt 10 ounces melting wafers and dip pies halfway. Drizzle remaining chocolate and add sprinkles while wet.
Last Step: Please leave a rating and comment letting us know how you liked this recipe! This helps our business to thrive and continue providing free, high-quality recipes for you.
Leave a comment & rating below or tag
@yummique on social media!

Tender grilled zucchini wraps basil ricotta, bathed in marinara and mozzarella, baking into a bubbly, lighter Italian comfort dinner ready in 30 minutes.

Crisp-edged, tender-in-the-middle zucchini and yellow squash made in 15 minutes with pantry spices. A vibrant, veggie-forward side everyone devours.

Tender chicken meatballs simmered in rich marinara and blanketed with melty mozzarella, bringing all the flavors of chicken parm in cozy, bite-sized form.
Leave a comment & rating below or tag @yummique on social media!
Enjoyed this recipe? Share it with friends and family, and don't forget to leave a review!
This recipe looks amazing! Can't wait to try it.
Comments are stored locally in your browser. Server comments are displayed alongside your local comments.

Join to receive our email series which contains a round-up of some of our quick and easy family favorite recipes.
