
>>

A foolproof blondie base studded with juicy cherries and semi-sweet chips — easy, comforting, and perfect for summer or year-round baking.
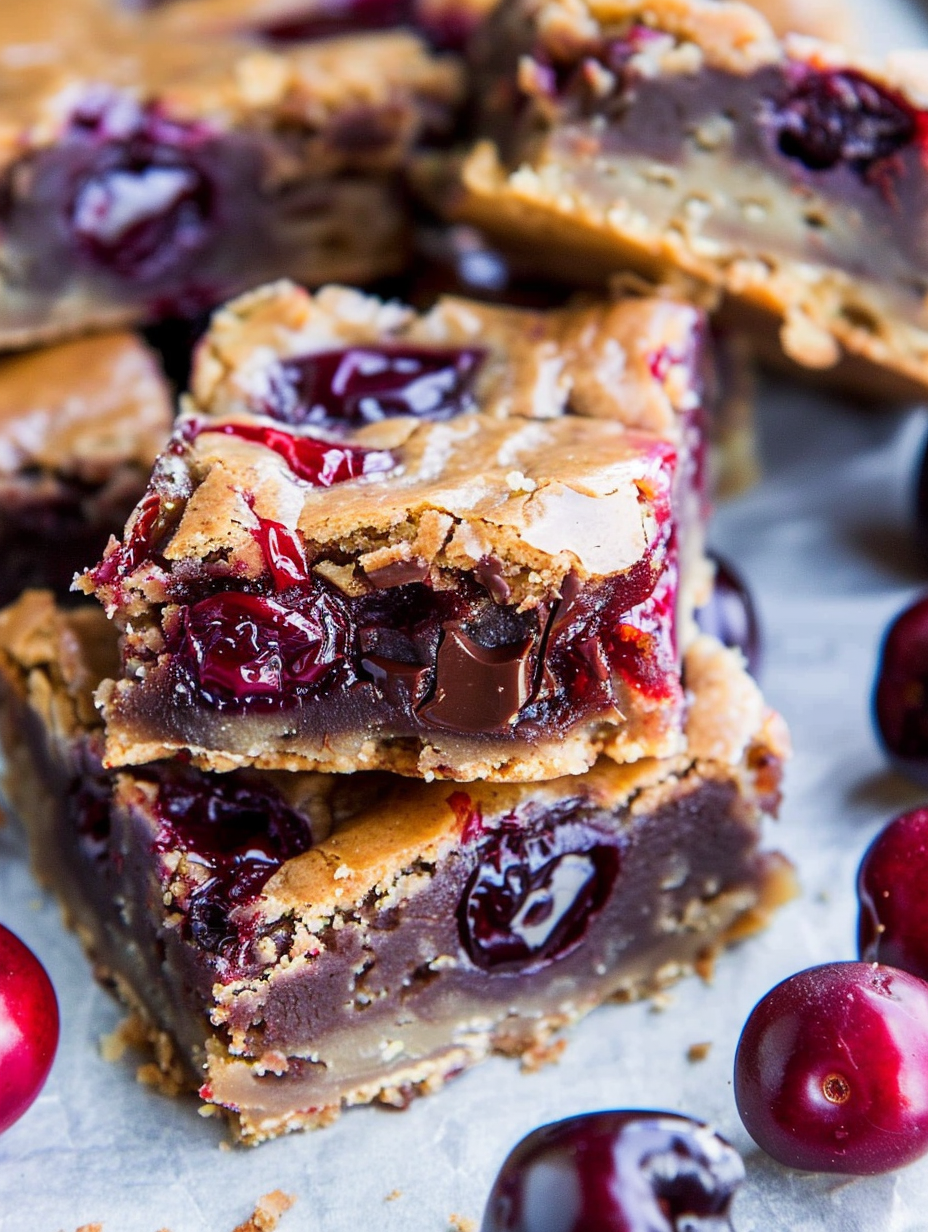
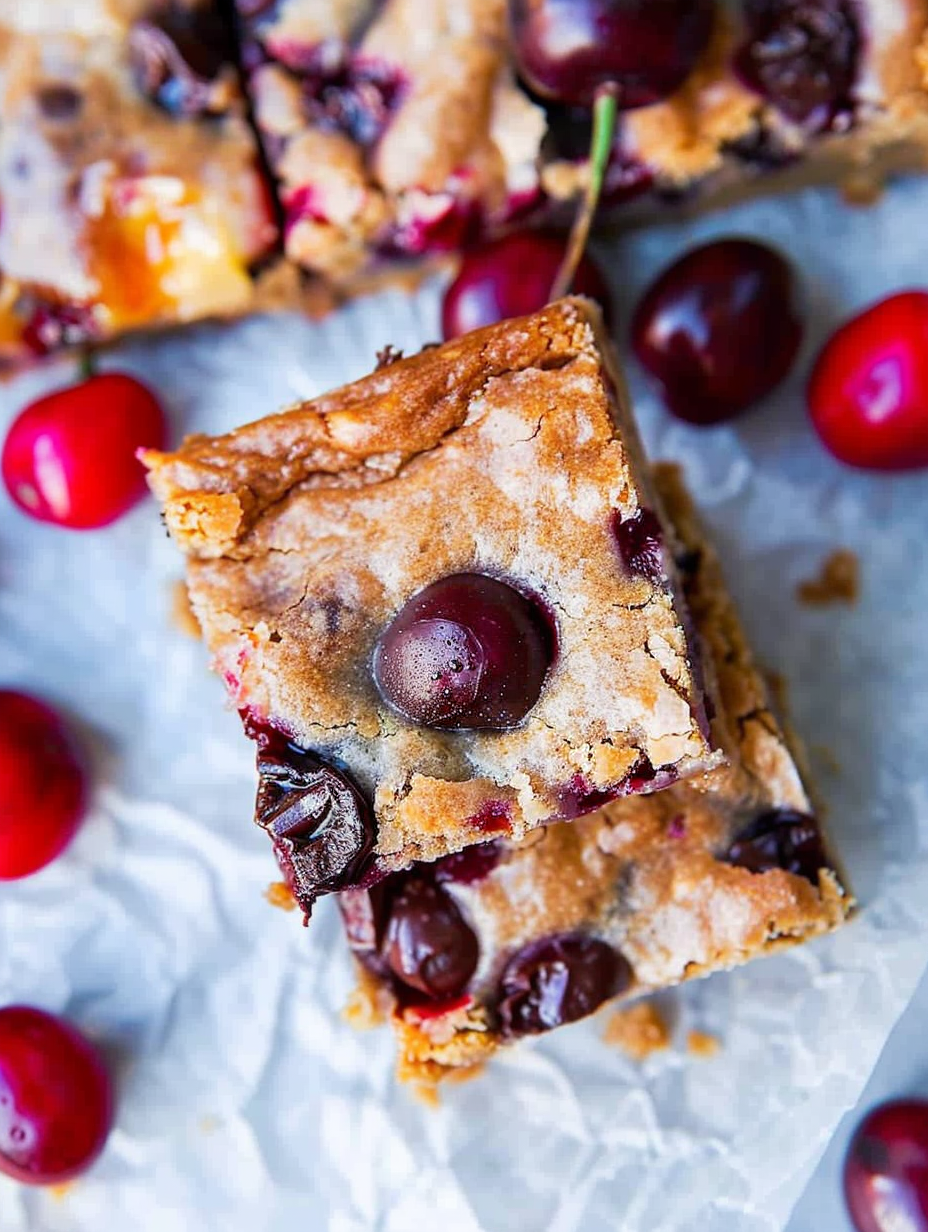
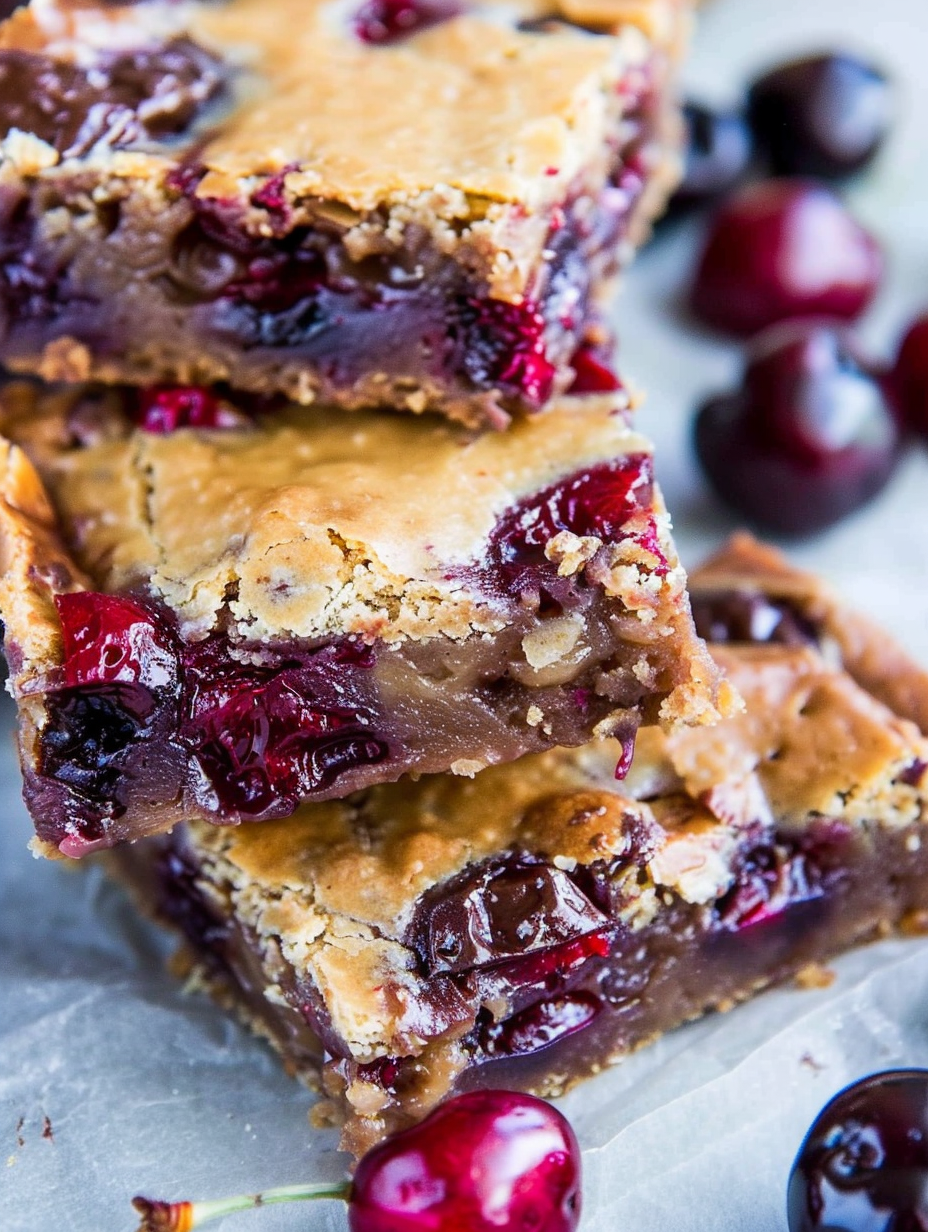
This batch of Chocolate Chip Cherry Bars grew from a simple goal: make the best blondie I could think of and load it with ripe cherries. I first combined these flavors on a late-spring afternoon when cherries were at the farmers' market peak. The bright, slightly tart fruit cuts through the brown sugar richness of the blondie and the pockets of melted chocolate create tiny, indulgent moments in every bite. Ever since that first pan, these bars have become my easy party contribution and an unexpected favorite at family brunches.
I love how forgiving this formula is. It relies on a very small number of pantry ingredients, comes together in a few minutes, and gives consistent results even when I’m multitasking. The texture is silky and dense — think chewy blondie rather than cakey — with bursts of cherry and pockets of chocolate. I usually leave the cherries whole so you get big, fruit-forward bites; if you prefer smaller pieces, halve them. Either way, this keeps my kitchen smelling like summer and people asking for the recipe.
My family always gravitates toward the pan: neighbors, kids, and friends have all given this enthusiastic approval. Once I brought a pan to a potluck and returned home with only crumbs left; someone literally saved the last square for me with a note. That kind of unsolicited feedback tells me this one does the job.
The thing I love most is how versatile this base is. I’ve swapped cherries for peaches and mixed berries on different occasions, and each time the bars present a slightly different character — summer peaches give it a jammy lift while raspberries add a bright tartness. These bars have appeared at school bake sales, outdoor picnics, and quiet Sunday afternoons when a single square tasted like a celebration.
Store cooled squares in an airtight container at room temperature for up to one week, layering pieces with parchment to prevent sticking. For longer storage, freeze individual squares in plastic wrap and place them in a zip-top bag; they’ll keep for up to three months. When reheating, microwave single portions for 12–15 seconds to revive the molten chocolate without drying the bar; for a crisper edge, warm in a 300°F oven for 5–7 minutes. Always allow freshly baked bars to cool before sealing containers to avoid steam condensation.
Want to tweak ingredients? Use coconut oil for a dairy-free fat (reduce by 1 tablespoon to avoid greasiness) and swap brown sugar for coconut sugar for a deeper caramel note. Gluten-free 1-to-1 flour blend works well if you omit the salt and allow a slightly longer bake. For a nutty crunch, fold in 1/2 cup chopped toasted almonds or walnuts. To reduce sugar, drop to 2/3 cup brown sugar and add a tablespoon of honey for moisture — expect a slightly chewier texture.
Serve warm squares with a scoop of vanilla ice cream or a spoonful of lightly sweetened whipped cream and a few fresh cherries for garnish. These bars pair beautifully with fresh berries in summer or a dollop of Greek yogurt and toasted oats for brunch. For a coffee service, offer small, bite-sized squares alongside espresso or a lightly sweetened latte. Presentation tip: dust lightly with sifted powdered sugar and add a sprig of mint for color contrast.
Swap cherries for sliced peaches in high summer, or use pears and a pinch of cinnamon in fall for a cozy twist. During late summer I like a combination of cherries and blackberries; the extra tartness from blackberries brightens the batter. In winter, opt for dried cherries rehydrated briefly in warm water and folded in with chopped dark chocolate for a more concentrated flavor and longer pantry life.
To include these bars in meal prep boxes, cut into smaller squares and place parchment between layers. Keep them in the fridge for up to 5 days, or freeze individually and add to packed lunches the night before to thaw. If you’re prepping ahead for an event, bake two pans at once and freeze one; thaw in the refrigerator a day ahead and bring to room temperature before serving for perfect texture.
These Chocolate Chip Cherry Bars are one of those reliable, crowd-pleasing treats that also reward experimentation. Whether you’re baking for neighbors, packing a picnic, or just treating yourself to a slow afternoon with coffee, they deliver warmth, sweet-tart balance, and the comfort of homemade baking. Make them your own and enjoy the smiles they bring.
If using frozen cherries, fold them in straight from the freezer to minimize extra moisture in the batter.
Avoid over-mixing after adding flour; stop when no streaks of flour remain to keep the bars tender.
Cool completely before slicing for clean edges — at least 1 hour at room temperature.
For chewier blondies, remove from the oven at the lower end of the bake time and let them set while cooling.
This nourishing chocolate chip cherry bars recipe is sure to be a staple in your kitchen. Enjoy every moist, high protein slice — it is perfect for breakfast or as a wholesome snack any time.
This Chocolate Chip Cherry Bars recipe makes perfectly juicy, tender, and flavorful steak every time! Serve with potatoes and a side salad for an unforgettable dinner in under 30 minutes.
Preheat oven to 350°F. Line an 8x8-inch pan with aluminum foil and spray with cooking spray, leaving an overhang for easy removal.
Melt 1/2 cup butter in the microwave or on the stove. Whisk in 1 cup packed light brown sugar until glossy and mostly dissolved.
Stir in 1 large egg and 2 teaspoons vanilla until the mixture is smooth and homogenous, allowing the butter to cool slightly first to avoid cooking the egg.
Add 1 cup all-purpose flour and 1/4 teaspoon salt, stirring just until combined. Avoid over-mixing to keep the texture tender.
Fold in 3/4 to 1 cup chocolate chips and 1 cup cherries (fresh or frozen). Pour batter into prepared pan and smooth the top.
Bake for 27 to 32 minutes until edges pull away slightly and center is set. Cool for at least 1 hour before slicing to ensure clean squares.
Last Step: Please leave a rating and comment letting us know how you liked this recipe! This helps our business to thrive and continue providing free, high-quality recipes for you.
Leave a comment & rating below or tag
@yummique on social media!

Tender grilled zucchini wraps basil ricotta, bathed in marinara and mozzarella, baking into a bubbly, lighter Italian comfort dinner ready in 30 minutes.

Crisp-edged, tender-in-the-middle zucchini and yellow squash made in 15 minutes with pantry spices. A vibrant, veggie-forward side everyone devours.

Tender chicken meatballs simmered in rich marinara and blanketed with melty mozzarella, bringing all the flavors of chicken parm in cozy, bite-sized form.
Leave a comment & rating below or tag @yummique on social media!
Enjoyed this recipe? Share it with friends and family, and don't forget to leave a review!
This recipe looks amazing! Can't wait to try it.
Comments are stored locally in your browser. Server comments are displayed alongside your local comments.

Join to receive our email series which contains a round-up of some of our quick and easy family favorite recipes.
