
>>

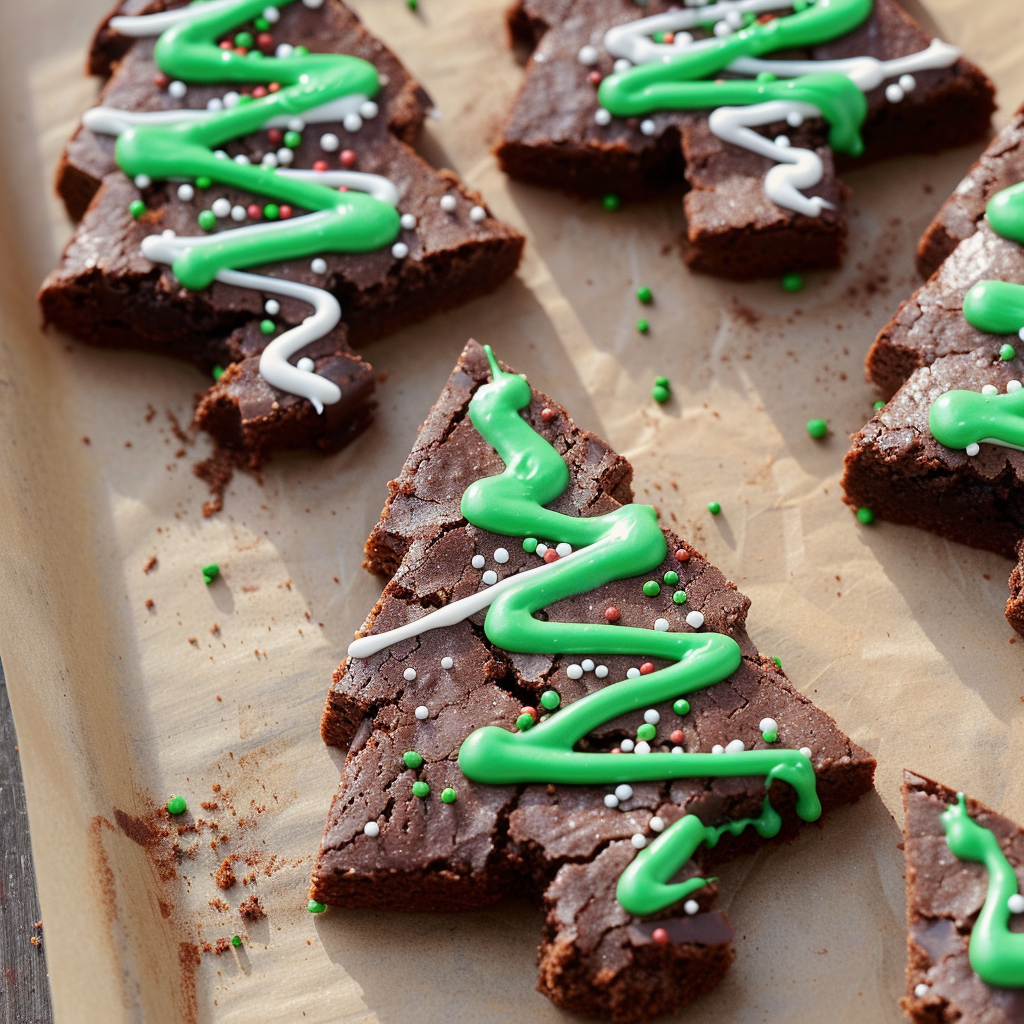
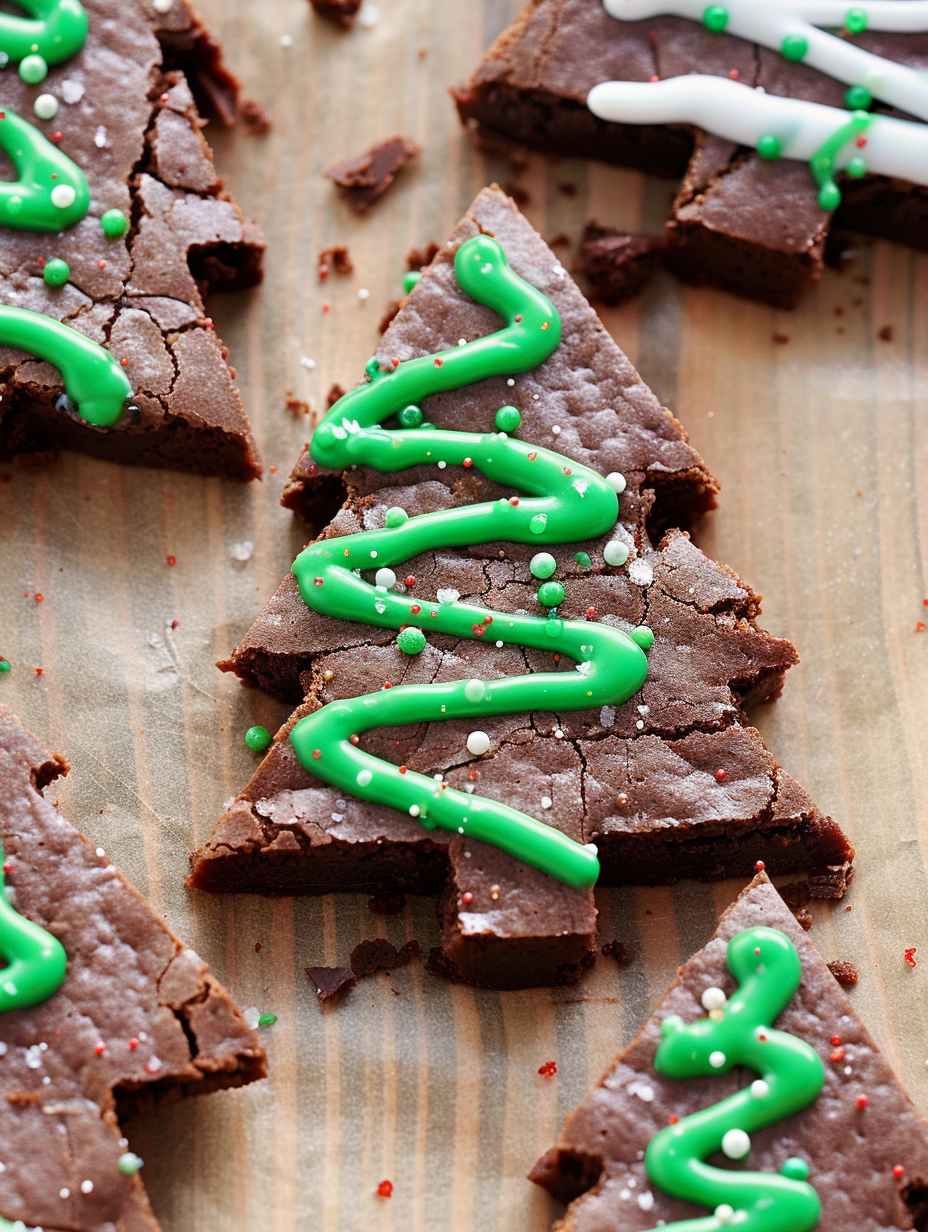
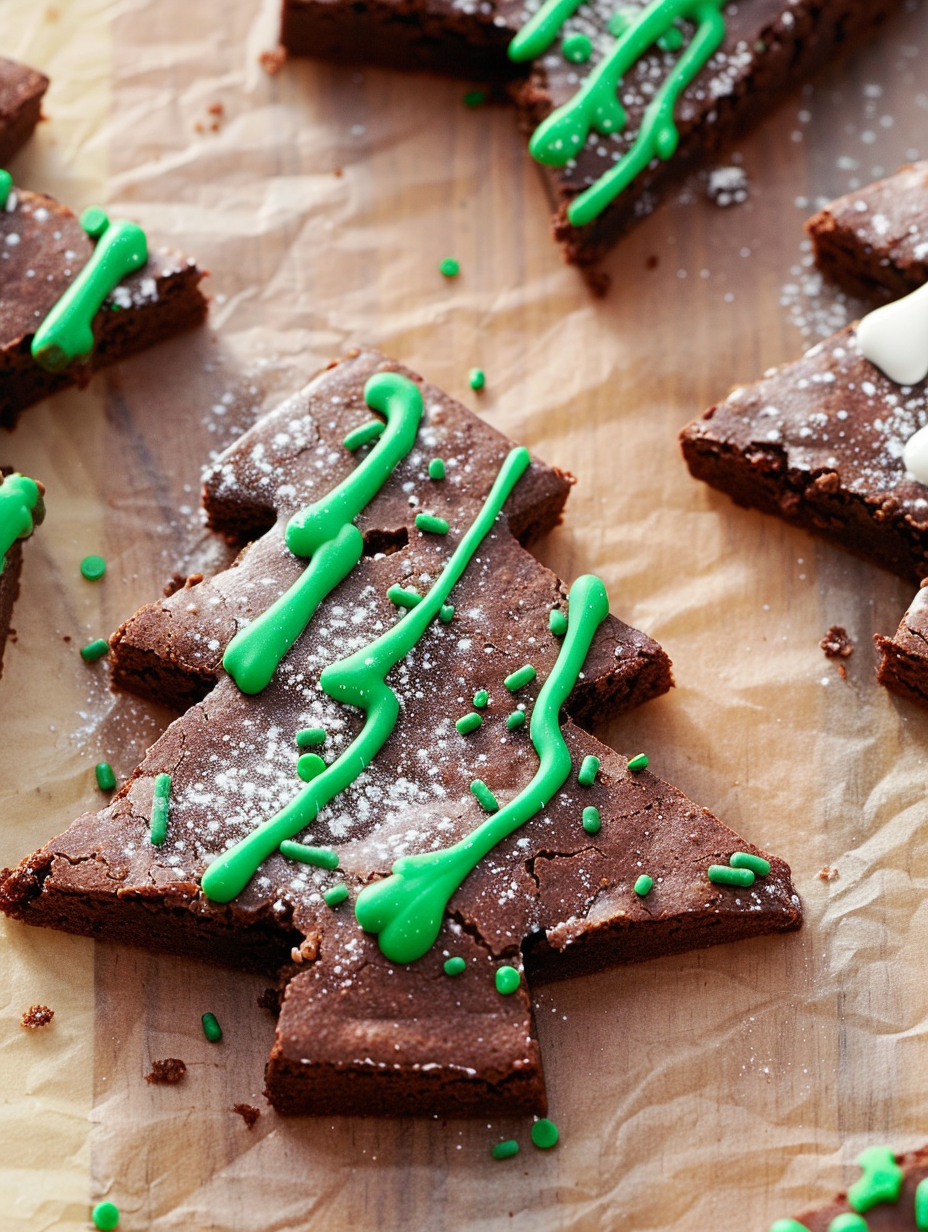
Fudgy brownies cut into festive tree shapes and decorated with piped icing and sprinkles, perfect for decorating with kids over the holidays.
This recipe for Christmas Tree Brownies started as a way to make holiday baking a bit more interactive and a lot more festive. I first made these the year my daughter was four and wanted to help with everything in the kitchen. The simple brownie base is rich and fudgy with deep chocolate flavor, while the piped icing lets kids experiment with patterns and colors. The result is dessert that tastes like a classic treat but looks like a holiday project, bringing everyone to the table for a few fun minutes of decorating together.
What makes these brownies special is the mix of texture and ritual. The brownies bake dense and moist so the tree shapes hold up when cut with a cookie cutter, and the basic powdered sugar icing dries just enough to keep sprinkles in place while remaining soft to bite through. Decorating becomes the memorable part: piping zigzags, adding strands of silver and gold, and laughing at the unexpected creations. Over the years this became our annual tradition, and friends now ask me for the recipe so they can make it with their kids too.
I remember the first time we did a decorating marathon: cocoa dust on cheeks, giggles over misplaced sprinkles, and a cookie sheet full of tiny masterpieces. The kids felt proud to contribute and adults appreciated the familiar fudgy bite of a well-made brownie. It became a small ritual that marks the season for us.
What I love most is how this project brings everyone together. We decorate while sipping cider and playing holiday music, and the kitchen always ends up covered in glitter like confetti. The smell of chocolate and the bright colors make this a sensory highlight of the season for our family.
Store decorated trees in an airtight container at room temperature for up to two days. If you need longer storage, place them in a single layer in the refrigerator for up to five days; allow chilled brownies to come to room temperature before serving for the best texture. For freezer storage, place the decorated treats in a single layer on a baking sheet until firm, then transfer to a freezer-safe container with parchment layers in between to prevent sticking. Thaw in the refrigerator overnight wrapped loosely, and bring to room temperature before serving so the frosting softens slightly.
To make dairy-free versions, swap the butter for plant-based stick margarine measured cup for cup; coconut oil will also work but expect a slight coconut flavor. For a vegan adaptation, use a commercial egg replacer or a flax egg equivalent (1 tablespoon ground flaxseed mixed with 3 tablespoons water per egg) but know the texture will be slightly different and a bit more cake-like. To reduce sugar a little, try substituting half the granulated sugar with coconut sugar, though the top texture may change. Use gluten-free 1-to-1 flour blend to make a gluten-free batch, but rest the batter briefly before baking to hydrate the flours evenly.
Arrange the trees on a platter with a dusting of powdered sugar to simulate snow, and add small edible gold stars for the treetops for a festive touch. Pair with hot chocolate or mulled wine for winter gatherings, or serve alongside a scoop of vanilla ice cream to balance the dense chocolate. These are perfect for holiday cookie exchanges, classroom parties, or as homemade gifts when wrapped individually in cellophane with a ribbon.
Cutting baked goods into holiday shapes is a longstanding tradition in many Western cultures where Christmas tree imagery symbolizes winter celebrations. Brownies themselves are an American classic, invented in the United States in the late 19th century as a portable, chocolatey treat. Combining familiar brownie texture with holiday shapes and decorations brings together the comfort of heritage baking with the playful, decorative spirit of the season.
For a winter citrus twist, add 1 teaspoon of orange zest to the batter to brighten the chocolate. In colder months swap sprinkles for crushed peppermint candies for a classic seasonal flavor. For a spring or Easter-themed variation, use pastel-colored icings and egg-shaped sprinkles instead of trees. The basic method adapts easily across holidays by changing shapes and decoration palettes.
Make the brownie slab up to three days ahead and keep it wrapped in the refrigerator, then cut and decorate on the day you plan to serve. Alternatively, bake and freeze undecorated brownie slabs up to three months; thaw completely and then cut and decorate. Keep all decoration supplies ready in a small tray and assign each family member a station to speed up the process during gatherings. Use labeled ziplock bags for different colors of icing to avoid cross-contamination when decorating with kids.
These tree-shaped brownies are more than a dessert; they are a tiny holiday production that creates memories and fills your kitchen with warmth. Encourage creativity, keep a towel handy, and savor both the process and the treats with people you love.
Chill the baked slab before cutting to get precise tree shapes and reduce crumbling.
Use ziplock bags with a very small snip for piping if you do not have a pastry bag.
Add sprinkles immediately after piping so they adhere before the icing sets.
Test the icing flow on a plate before piping on the brownies to control line thickness.
This nourishing christmas tree brownies recipe is sure to be a staple in your kitchen. Enjoy every moist, high protein slice — it is perfect for breakfast or as a wholesome snack any time.
This Christmas Tree Brownies recipe makes perfectly juicy, tender, and flavorful steak every time! Serve with potatoes and a side salad for an unforgettable dinner in under 30 minutes.
Preheat oven to 325 degrees F. Line a 9 by 13 inch baking dish with parchment and grease lightly. This helps lift the slab from the pan and yields clean edges for cutting shapes.
Whisk together 3/4 cup flour, 3/4 cup cocoa powder, and 3/4 teaspoon kosher salt in a bowl until combined and lump free. Set aside.
In a large bowl, beat melted butter with 1 1/2 cups sugar and 2 teaspoons vanilla. Add 3 large eggs one at a time, beating after each addition until glossy.
Add the dry mixture to the wet mixture on low speed until just combined, then fold once with a spatula to finish. Avoid overmixing to keep the brownies fudgy.
Pour batter into prepared pan and bake at 325 degrees F for about 30 minutes. Check with a toothpick; it should come out with moist crumbs. Cool completely before cutting.
Use a tree-shaped cookie cutter to cut as many shapes as possible from the cooled slab. Mix powdered sugar with 1 tablespoon milk, split and tint half with green coloring, transfer to ziplock bags, snip a small corner, pipe zigzags, and add sprinkles while icing is wet.
Last Step: Please leave a rating and comment letting us know how you liked this recipe! This helps our business to thrive and continue providing free, high-quality recipes for you.
Leave a comment & rating below or tag
@yummique on social media!

Tender grilled zucchini wraps basil ricotta, bathed in marinara and mozzarella, baking into a bubbly, lighter Italian comfort dinner ready in 30 minutes.

Crisp-edged, tender-in-the-middle zucchini and yellow squash made in 15 minutes with pantry spices. A vibrant, veggie-forward side everyone devours.

Tender chicken meatballs simmered in rich marinara and blanketed with melty mozzarella, bringing all the flavors of chicken parm in cozy, bite-sized form.
Leave a comment & rating below or tag @yummique on social media!
Enjoyed this recipe? Share it with friends and family, and don't forget to leave a review!
This recipe looks amazing! Can't wait to try it.
Comments are stored locally in your browser. Server comments are displayed alongside your local comments.

Join to receive our email series which contains a round-up of some of our quick and easy family favorite recipes.
