
>>

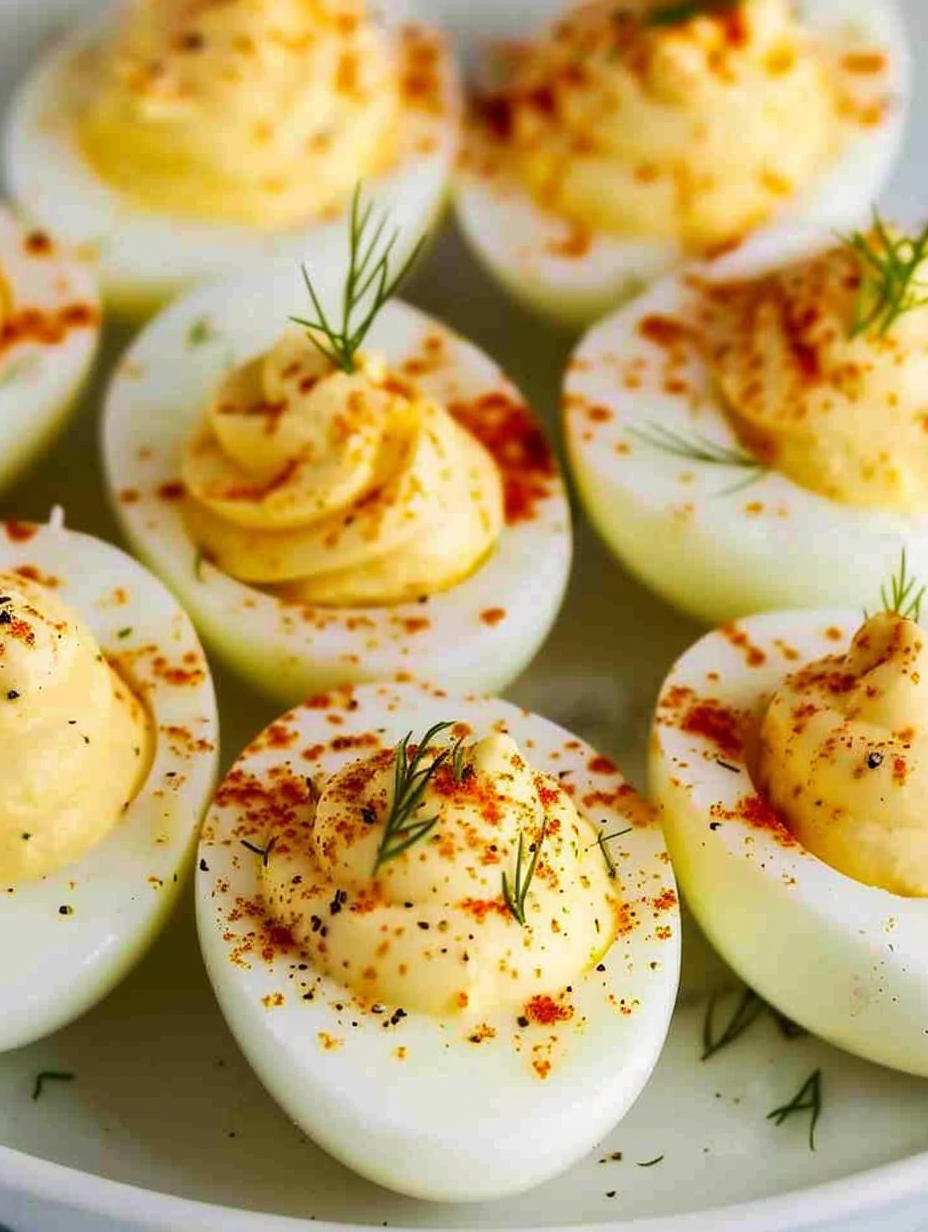
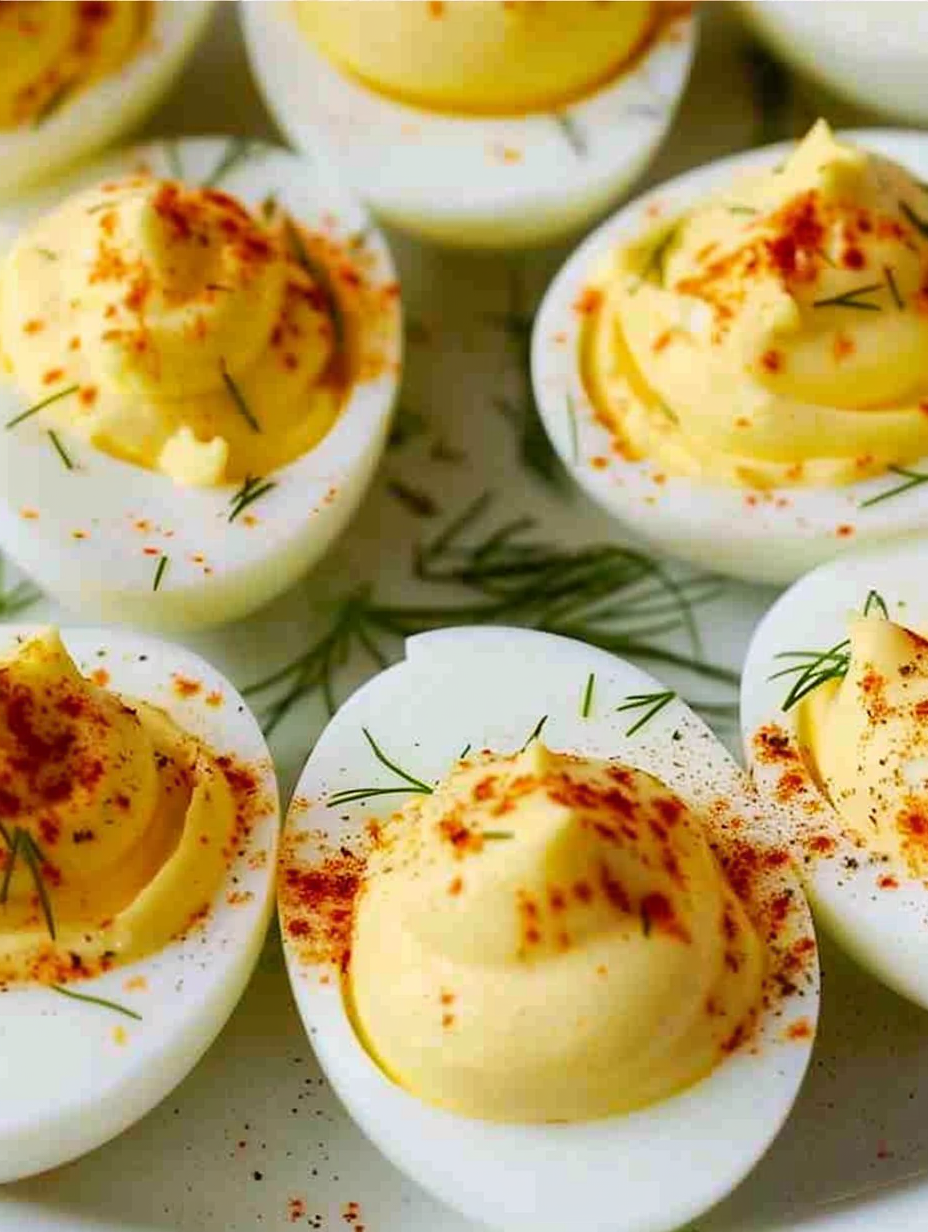
Make creamy, tangy deviled eggs for a timeless appetizer, picnic staple, or quick grab-and-go snack—perfectly smooth filling with a smoky paprika finish.
This recipe for creamy deviled eggs has been a constant at our family gatherings for as long as I can remember. I first learned this version from my grandmother one summer when we needed a simple, crowd-friendly dish that would travel well to a backyard picnic. The filling is silky but not overly sweet, with the bright lift of white vinegar and the familiar tang of yellow mustard. The contrast between the cool, delicate egg white and the rich, creamy yolk mixture is what keeps everyone reaching for one more.
I discovered a few small technique changes over the years that made a huge difference. A short rest after the water reaches a rolling boil, followed by an immediate ice bath, produces eggs that peel cleanly and yield vibrantly colored yolks without that unappealing green rim. Using a high-quality mayonnaise such as Hellmann's or Best Foods and pressing the yolks through a fork until very fine gives a spreadable texture that pipes beautifully into the halved whites. I often make a double batch for holidays because they vanish quickly.
Personally, these eggs bring back memories of summer potlucks where everyone compared their garnish ideas. We once served them at a book club meeting and everyone asked for the recipe. The simplicity and reliability are what keep me coming back to this version.
My favorite part of these eggs is the way small changes—like a touch of white vinegar and a very smooth yolk texture—transform a simple snack into something celebratory. I once brought a platter to a summer block party and people asked for extra dill because it made the eggs look so fresh. The beauty of this preparation is its reliability: consistent technique yields consistent results every time.

Store unfilled egg whites and yolk filling separately if you want to prepare ahead. Place whites in a covered shallow container lined with paper towels to absorb excess moisture, and refrigerate for up to 2 days. Keep the yolk filling in a sealed container; it will firm slightly in the fridge. When ready to serve, bring the filling to cool room temperature for 15 minutes, then refill. If fully assembled, use within 3 to 4 days. For freezing, raw or cooked eggs do not retain ideal texture, so avoid freezing filled eggs. Reheat is unnecessary; serve chilled or at cool room temperature for best texture.
Swap mayonnaise with Greek yogurt for a tangier, lighter filling—use full-fat Greek yogurt in a 1:1 swap but drain excess whey to prevent a runny texture. Replace yellow mustard with Dijon mustard for a deeper flavor while reducing honey or vinegar slightly to maintain balance. For a dairy-free, creamy vegan version substitute mayonnaise with a commercial vegan mayo and use crumbled firm tofu in place of yolks; note this changes texture and color significantly. Smoked paprika can be subbed with cayenne for heat or sweet paprika for milder color.
Present these eggs on a long platter lined with lettuce leaves or microgreens for contrast. Pair with crunchy pickles, a platter of charcuterie, or a light seasonal salad for a brunch spread. Garnish options include thinly sliced chives, crispy prosciutto bits, or a small caper for a briny pop. For a picnic, place them in a dedicated egg tray container and keep chilled until serving. They also work perfectly as a protein-rich addition to a potluck buffet.
The practice of stuffing hard-cooked egg whites has roots in European traditions where eggs were a festive food at springtime gatherings. Over time, the technique evolved in American kitchens into the classic deviled preparation—spiced, creamy, and often garnished. The term has historical culinary context referring to spicy or zesty seasoning, and regional variations emerged across the United States, with some areas favoring sweet pickle relish, others preferring mustard-forward blends, or adding paprika and herbs for color and aroma.
In spring serve with a sprinkle of fresh chives or chopped tarragon to echo garden flavors. In summer try a topping of pickled jalapeño slices and cilantro for a zesty twist. For autumn or winter, fold a small amount of roasted, finely chopped root vegetables into the filling for texture and warmth. Around the holidays add a tiny spoonful of whole-grain mustard and a dusting of smoked paprika to complement richer mains.
Make a double batch of yolk filling and refrigerate in a piping bag for quick assembly. Boil eggs early in the day and store peeled whites in a covered container with a damp paper towel to maintain moisture. Use a shallow rigid container for transport and keep the filling chilled until 30 minutes before serving. For catering or events, pre-fill on-site to ensure presentation remains perfect and the whites do not sweat or become watery.
These eggs are more than a recipe; they are a small, dependable celebration on a plate. Whether assembled for a quick snack or for a holiday table, they reward attention to technique and thoughtful garnishes.
Use eggs that are 7 to 10 days old for easier peeling compared with very fresh eggs.
Dry the egg whites carefully after peeling to prevent the filling from sliding off during serving.
For the smoothest filling, mash yolks very finely and whisk vigorously or press through a sieve before adding mayonnaise.
Pipe the filling using a disposable piping bag or a sandwich bag with a corner snipped off for neat presentation.
Chill assembled eggs for at least 5 minutes to let flavors marry and make them easier to transport.
This nourishing classic creamy deviled eggs recipe is sure to be a staple in your kitchen. Enjoy every moist, high protein slice — it is perfect for breakfast or as a wholesome snack any time.
Yes. Boiled eggs can be prepared a day in advance and kept unpeeled in the refrigerator. Peel and fill just before serving for best texture.
If a green ring forms around yolks they are safe to eat. To avoid it, use the recommended timing and shock eggs in an ice bath immediately after cooking.
This Classic Creamy Deviled Eggs recipe makes perfectly juicy, tender, and flavorful steak every time! Serve with potatoes and a side salad for an unforgettable dinner in under 30 minutes.
Place eggs in a single layer in a saucepan and add cold water to cover by 1/2 inch. Bring to a rolling boil over high heat, cover, remove from heat, and let sit for 15 to 17 minutes.
Transfer eggs to an ice water bath for 5 to 10 minutes to stop cooking. Peel under running cool water to remove shells easily and dry gently on paper towels.
Slice eggs lengthwise with a sharp knife. Remove yolks to a medium bowl and place whites on a platter with the cavity side up.
Mash yolks finely with a fork. Add mayonnaise, white vinegar, yellow mustard, salt, and pepper. Mix until smooth or press through a sieve for extra silkiness.
Pipe or spoon the yolk mixture into each white cavity just before serving. Use a piping bag for decorative swirls or a small spoon for a rustic look.
Sprinkle with smoked paprika and chopped fresh dill. Chill for at least 5 minutes or serve immediately at cool room temperature.
Last Step: Please leave a rating and comment letting us know how you liked this recipe! This helps our business to thrive and continue providing free, high-quality recipes for you.
Leave a comment & rating below or tag
@yummique on social media!

Tender grilled zucchini wraps basil ricotta, bathed in marinara and mozzarella, baking into a bubbly, lighter Italian comfort dinner ready in 30 minutes.

Crisp-edged, tender-in-the-middle zucchini and yellow squash made in 15 minutes with pantry spices. A vibrant, veggie-forward side everyone devours.

Tender chicken meatballs simmered in rich marinara and blanketed with melty mozzarella, bringing all the flavors of chicken parm in cozy, bite-sized form.
Leave a comment & rating below or tag @yummique on social media!
Enjoyed this recipe? Share it with friends and family, and don't forget to leave a review!
This recipe looks amazing! Can't wait to try it.
Comments are stored locally in your browser. Server comments are displayed alongside your local comments.

Join to receive our email series which contains a round-up of some of our quick and easy family favorite recipes.
