
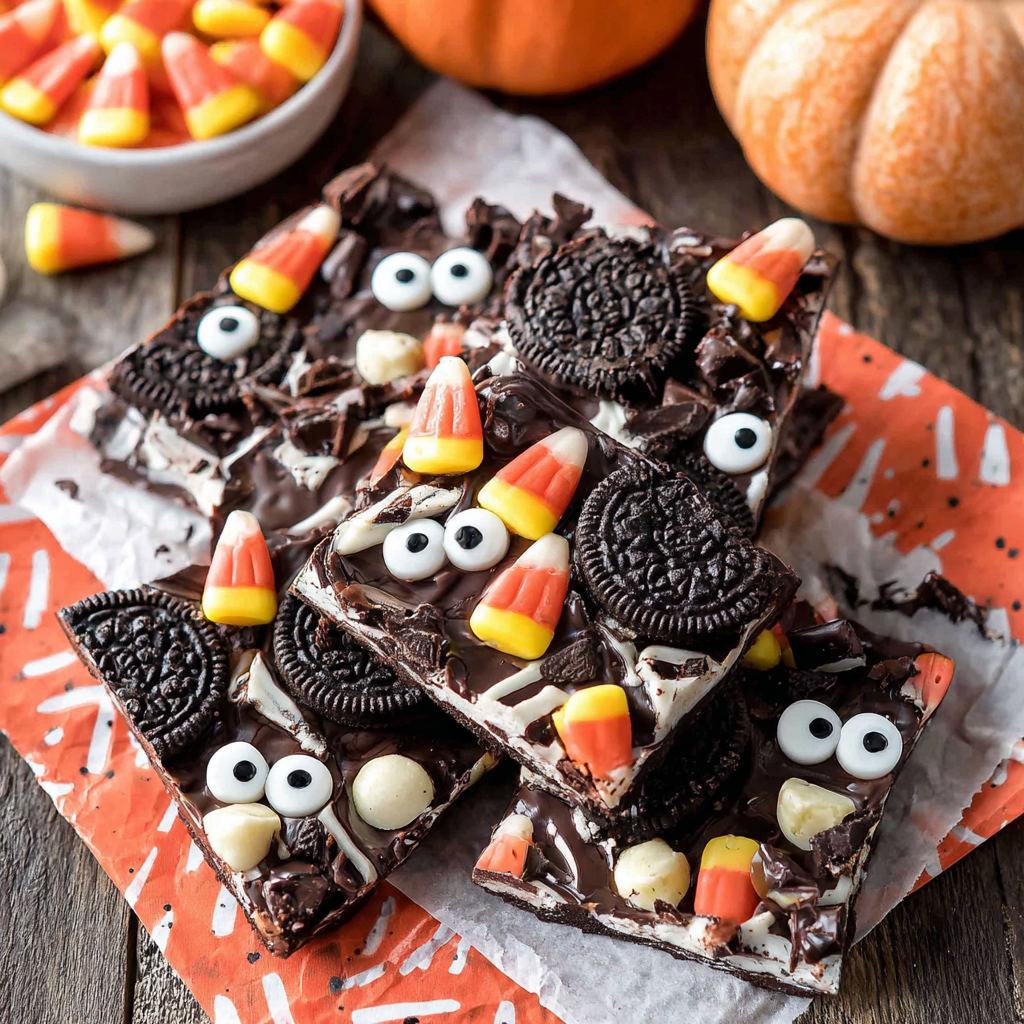
Halloween Candy Bark

A fun, no-fuss Halloween candy bark layered with dark and white chocolate, candy corn, Oreo 'monsters', and candy eyes — ready in about 75 minutes.
Why You'll Love This Recipe
- Quick to pull together in about 15 minutes of active time and one hour to chill — perfect for last-minute party needs.
- Uses pantry staples like chocolate chips and Oreos, plus a few simple decorations to make it unmistakably Halloween.
- Completely customizable: swap in pretzels, nuts, or pumpkin seeds for salt and crunch, or skip the Oreos for a nut-only bark.
- Great make-ahead snack — prepare a day ahead and store in an airtight container to save time on the day of your event.
- Kid-friendly decorating activity: set up a “decorate your bark” station and let little hands place candy eyes and toppings.
- Perfect for gifting or party platters — break into rustic pieces and wrap in cellophane for a cute edible present.
I’ve taken this to school events, neighborhood swaps, and a Halloween movie night; every time people ask how long it took because it looks so charming. My niece declared the Oreo eyes the best part and hid the candy corn pieces under the couch cushions once — a true endorsement in Halloween logic.
Ingredients
- Dark chocolate chips (2 cups / 12 oz): Use a good-quality semi-sweet or bittersweet brand for a glossy finish and balanced sweetness. I like Ghirardelli or a 60% cacao bar chopped into pieces if you prefer bar chocolate over chips.
- White chocolate chips (1/3 cup): Choose pure white chocolate chips for the clean swirl; some vanilla baking chips lack cocoa butter and can be grainy, so pick a brand labeled 'white chocolate' when possible.
- Candy corn (1/4 cup): A classic Halloween touch — place evenly for visual appeal. If you prefer less sweetness, use candy corn sparingly or replace with candy pumpkins.
- Regular Oreos (3 cookies): Split in half to expose the cream and create little cookie 'faces'. Any sandwich cookie works, but Oreos are the classic choice.
- Mini Oreos (about 10 minis / 1 oz): Small cookie halves add scale and variety; mini cookies tuck nicely into the chocolate without overpowering the slab.
- Black icing (1 tube): For attaching candy eyes to cookie halves and adding small details; a fine-tipped tube works best for precision.
- Candy eyes (about 1/4 cup): Edible candy eyes bring the bark to life and are easy to press into softened chocolate — use a mix of sizes for character.
Instructions
Prepare the pan and workspace: Line a 10.5" x 15.5" baking sheet with parchment paper or aluminum foil, leaving at least two sides with overhang to make lifting the bark easier after it sets. Arrange your decorations — candy corn, split Oreos, mini Oreos, and candy eyes — within reach so you can work quickly once the chocolate is melted. Melt the dark chocolate: Place the dark chocolate chips in a microwave-safe bowl. Microwave for 1 minute on medium-high, stir thoroughly, then microwave for 30 seconds and stir again. If the chocolate still has lumps, continue in 15-second bursts, stirring between each, until smooth and glossy. Overheating causes seizing; if this happens, stir in a teaspoon of neutral oil or a small pat of butter to smooth it. Spread the dark chocolate: Pour the melted dark chocolate onto the prepared baking sheet. Use an offset spatula or the back of a spoon to smooth into an even rectangle about 1/8" to 1/4" thick. Aim for a consistent thickness so the bark breaks into similar-sized pieces. Melt the white chocolate: In a separate bowl, microwave the white chocolate chips for 1 minute, stir, and then use 15-second intervals until silky smooth. White chocolate is sensitive to heat and can become grainy if overheated, so take care to stop microwaving as soon as it’s stirred smooth. Create the swirl: Drizzle the white chocolate diagonally across the dark chocolate layer in long, thin lines. Using a toothpick or skewer, drag through the white chocolate in the opposite diagonal direction to create a marbled swirl. Work quickly — the contrast looks best before the white chocolate fully sets. Decorate with candy and cookies: Scatter the candy corn evenly over the surface. Split the regular Oreos so one half is plain cookie and the other has cream; use black icing dots on the backs of candy eyes and press the eyes onto the creamless cookie halves so the icing attaches them. Arrange the cookie halves, eyes side up, gently pressing them into the melted chocolate so they adhere without sinking fully. Chill until set: Transfer the baking sheet to the refrigerator for about 1 hour, or until the chocolate is fully hardened. For faster setting, place the sheet in the coldest part of the fridge but avoid the freezer, which can cause condensation when returned to room temperature. Break into pieces: Once set, lift the bark out using the parchment overhang and break or cut into rustic pieces. Use a sharp knife warmed under hot water for clean edges, wiping and reheating between cuts if you prefer neat squares.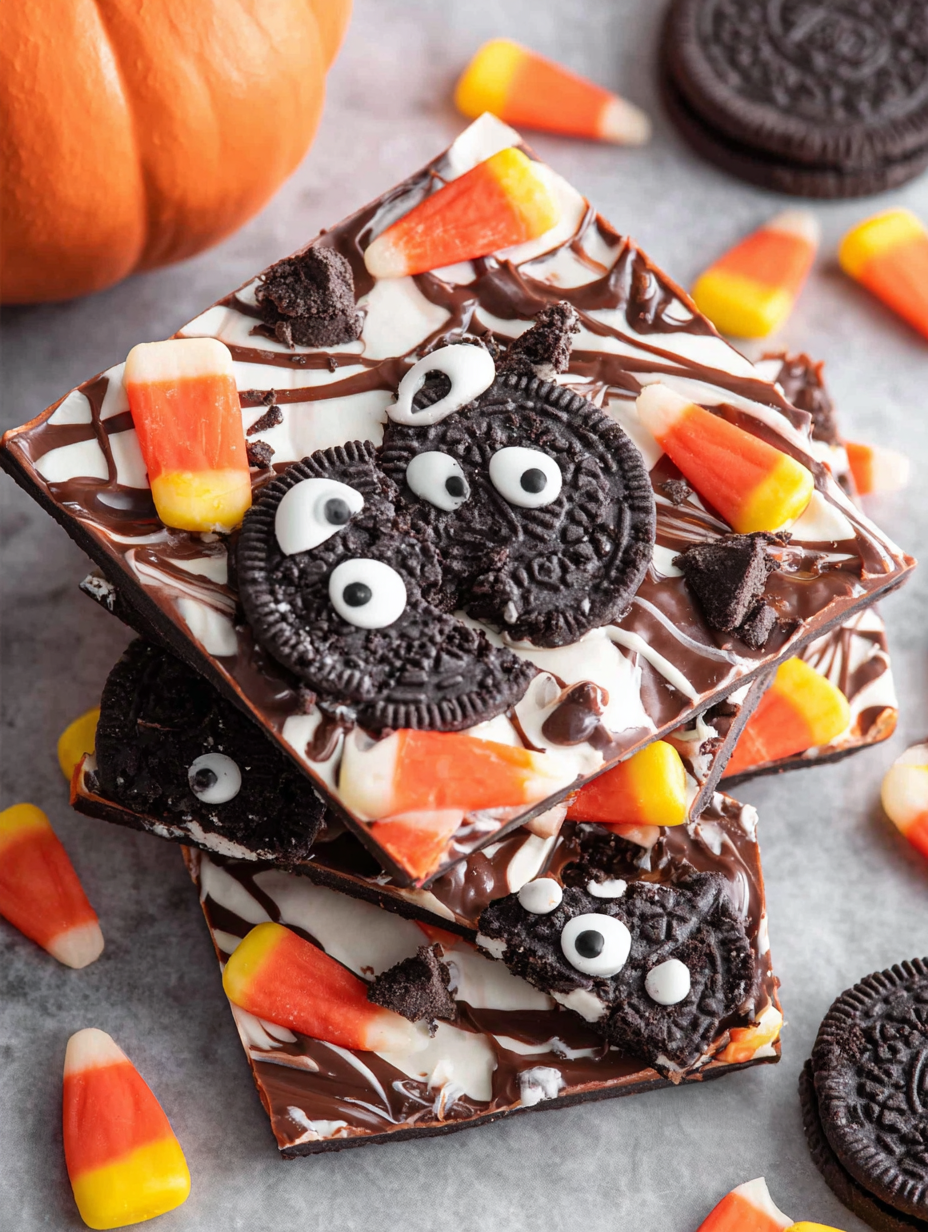
You Must Know
- Store in an airtight container at room temperature for up to 3 days or in the refrigerator for up to 2 weeks; chocolate can bloom if moved between hot and cold too often.
- Freezes well for up to 3 months when wrapped tightly; thaw in the fridge to avoid condensation forming on the surface.
- High in sugar and treats, roughly 263 calories per serving based on 12 servings — adjust portion size accordingly.
- Allergen note: contains dairy and wheat (cookies); use gluten-free cookies and dairy-free white chocolate to adapt for allergies.
- For a crisp snap, maintain a thin, even layer of chocolate — thicker slabs take much longer to chill and can be clumsy to break.
My favorite part is watching the bark disappear. At one party, a neighbor took a piece, declared it 'spooky-good', and came back with three more plates. The combination of textures and the playful eyes always makes people smile — and the simplicity means I actually make it every year.
Storage Tips
Keep the bark in a cool, dry place away from direct sunlight. Layer pieces between sheets of parchment in an airtight container to prevent sticking. If you refrigerate, remove an hour before serving to let flavors mellow and to avoid the chocolate tasting too stiff. For gifting, wrap small piles in cellophane and tie with seasonal ribbon; if mailing, pack with insulating material and avoid shipping in extreme heat.
Ingredient Substitutions
Swap dairy white chocolate chips with vegan or soy-based white chips if you need a dairy-free version. Replace Oreos with gluten-free sandwich cookies or use chopped biscotti for extra crunch. If you prefer salty contrast, substitute some candy corn with pretzel bits or roasted salted pumpkin seeds at a 1:1 ratio; expect the overall sweetness to be reduced and the texture to gain more chew.
Serving Suggestions
Serve broken pieces on a platter with a mix of sizes for visual interest. Pair with hot apple cider or a spiced coffee to balance the sweetness. For a party, create a 'mix and match' bowl where guests can take handfuls of bark, nuts, and popcorn. Garnish the platter with autumn leaves or mini pumpkins for a festive presentation.
Cultural Background
Chocolate bark has roots in European confection traditions where candied and chopped ingredients were pressed into chocolate slabs. It evolved into the rustic, no-bake treat we know today — loved for its versatility and ability to showcase seasonal toppings. Halloween-themed versions lean into playful, novelty decorations like candy eyes and seasonal candies, reflecting the holiday’s celebratory and whimsical spirit.

Seasonal Adaptations
For fall and Thanksgiving, swap candy corn for roasted pepitas and dried cranberries; add a pinch of cinnamon to the melted dark chocolate for warmth. For winter holidays, use crushed peppermint and red-and-white candies, and for Valentine’s Day try pink candy melts and heart sprinkles. Adjust toppings so they are not so dense that they make the slab difficult to break.
Success Stories
One Halloween I made a double batch and donated pieces to a community bake sale; the table sold out in twenty minutes. Parents loved the no-mess packaging and kids kept asking about the 'monster cookies.' Another time, I used sea salt and chopped almonds in part of the batch — the contrast converted a skeptic into a fan who asked for the recipe to bring to a dinner party.
Meal Prep Tips
Make the bark up to two weeks ahead and store chilled. For portion control, pre-break into single-serve pieces and place in small bags for grab-and-go snacks. If prepping for a large event, melt chocolate in two batches to maintain consistent temperature and smoothness.
This bark is the kind of holiday treat that’s as joyful to make as it is to eat. It’s quick enough for weeknight crafting with kids, handsome enough for a party platter, and endlessly adaptable to whatever toppings and tastes you prefer — so go ahead, make it yours and watch it disappear.
Pro Tips
Warm your knife under hot water and dry it before slicing to get cleaner edges.
Press decorations gently into the chocolate while it’s still soft so they adhere without sinking.
Avoid the freezer for chilling if you care about glossy finish — rapid cooling can cause bloom and condensation.
This nourishing halloween candy bark recipe is sure to be a staple in your kitchen. Enjoy every moist, high protein slice — it is perfect for breakfast or as a wholesome snack any time.
FAQs about Recipes
How should I store the bark?
Store at room temperature up to 3 days or refrigerate up to 2 weeks. Freeze up to 3 months wrapped tightly.
What's the best way to melt the chocolate?
Use a microwave-safe bowl and heat in short intervals, stirring between each to avoid overheating and seizing.
Tags
Halloween Candy Bark
This Halloween Candy Bark recipe makes perfectly juicy, tender, and flavorful steak every time! Serve with potatoes and a side salad for an unforgettable dinner in under 30 minutes.
Ingredients
Main Ingredients
Instructions
Line the sheet pan
Line a 10.5 x 15.5 inch baking sheet with parchment paper or foil leaving an overhang on two sides to lift the set bark out easily.
Melt the dark chocolate
Place dark chocolate chips in a microwave-safe bowl, microwave for 1 minute, stir, then 30 seconds and stir. Finish in 15-second bursts until smooth to avoid overheating.
Spread the chocolate
Pour melted dark chocolate onto the prepared sheet and spread with an offset spatula to an even 1/8 to 1/4 inch thickness for consistent setting.
Melt and swirl white chocolate
Melt white chocolate similarly in short increments. Drizzle diagonally over the dark chocolate and drag a toothpick across in the opposite diagonal to create a marble effect.
Decorate with candy and cookies
Scatter candy corn evenly. Split Oreos in half, attach candy eyes with a dab of black icing on the back, and press cookie halves, eyes-side up, gently into the chocolate so they adhere.
Chill and break into pieces
Refrigerate the sheet for 1 hour until firm. Lift out using the overhang and break into pieces by hand or cut with a warmed knife for neater edges.
Last Step: Please leave a rating and comment letting us know how you liked this recipe! This helps our business to thrive and continue providing free, high-quality recipes for you.
Nutrition
Did You Make This?
Leave a comment & rating below or tag
@yummique on social media!
Categories:
You might also like...

Cheesy Zucchini Rollatini Bake
Tender grilled zucchini wraps basil ricotta, bathed in marinara and mozzarella, baking into a bubbly, lighter Italian comfort dinner ready in 30 minutes.

Air Fryer Zucchini and Squash
Crisp-edged, tender-in-the-middle zucchini and yellow squash made in 15 minutes with pantry spices. A vibrant, veggie-forward side everyone devours.

Chicken Meatball Parmesan
Tender chicken meatballs simmered in rich marinara and blanketed with melty mozzarella, bringing all the flavors of chicken parm in cozy, bite-sized form.
Did You Make This?
Leave a comment & rating below or tag @yummique on social media!
Rate This Recipe
Share This Recipe
Enjoyed this recipe? Share it with friends and family, and don't forget to leave a review!
Comments (1)
This recipe looks amazing! Can't wait to try it.
Comments are stored locally in your browser. Server comments are displayed alongside your local comments.

Hi, I'm Amira!
What's Popular

30-Minute Meals!
Join to receive our email series which contains a round-up of some of our quick and easy family favorite recipes.